Updating your bathroom doesn't always require drilling holes or hiring a professional. If you're looking for a simple and renter-friendly upgrade, a no drill towel rack bathroom solution is one of the easiest ways to improve both storage and organization. These racks are designed to attach securely using strong adhesive, making installation quick while protecting your walls from damage.
Whether you own your home or live in a rental, this guide will help you install a towel rack correctly and keep it securely in place for years.
Why Choose a No-Drill Towel Rack?
Traditional towel racks often require screws, drills, and permanent wall modifications. In contrast, a no drill towel rack bathroom option offers a clean installation process with minimal effort.
Some of the main benefits include:
- No wall damage
- Fast and easy installation
- Ideal for rental properties
- Modern and stylish appearance
- Suitable for tile, glass, marble, and other smooth surfaces
These features make it a practical solution for homeowners who want convenience without sacrificing style.
Tools You'll Need
Before you begin, gather the following items:
- Adhesive towel rack
- Cleaning cloth
- Rubbing alcohol or surface cleaner
- Measuring tape
- Pencil or removable marker
- Level
Having everything ready before installation helps ensure the rack is mounted evenly and securely.
Step-by-Step Installation Guide
1. Clean the Surface
Choose a smooth, dry wall where you want to install the rack. Clean the surface thoroughly with rubbing alcohol to remove dust, moisture, soap residue, and grease. Allow it to dry completely before proceeding.
2. Measure and Mark
Use a measuring tape and level to determine the ideal position. Mark the placement lightly with a pencil to ensure the towel rack is perfectly aligned.
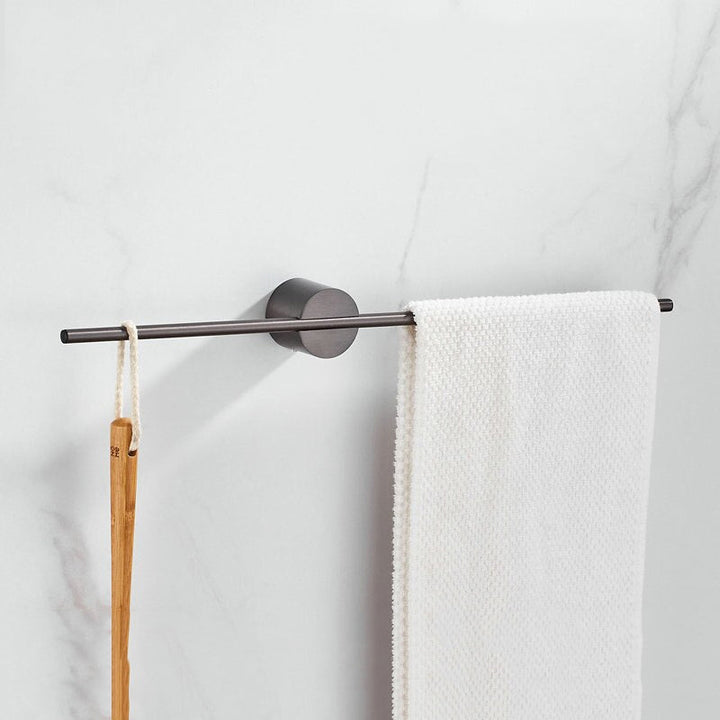
3. Attach the Rack
Remove the protective film from the adhesive backing and carefully press the no drill towel rack bathroom firmly against the marked area. Apply steady pressure for about 30 to 60 seconds to create a strong bond.
4. Let the Adhesive Cure
Although the rack feels secure immediately, it's best to wait at least 24 hours before hanging towels. This allows the adhesive to fully cure and achieve maximum strength.
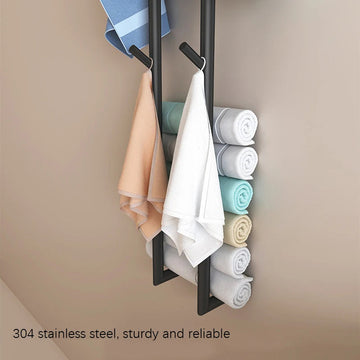
Add Flexibility with a Movable Towel Rack
If your storage needs change frequently, consider choosing a movable towel rack. Adjustable designs allow you to reposition or extend the bars, making them perfect for drying multiple towels or saving space in smaller bathrooms.
A movable towel rack also offers greater flexibility for families, guest bathrooms, or compact spaces where efficient organization matters.
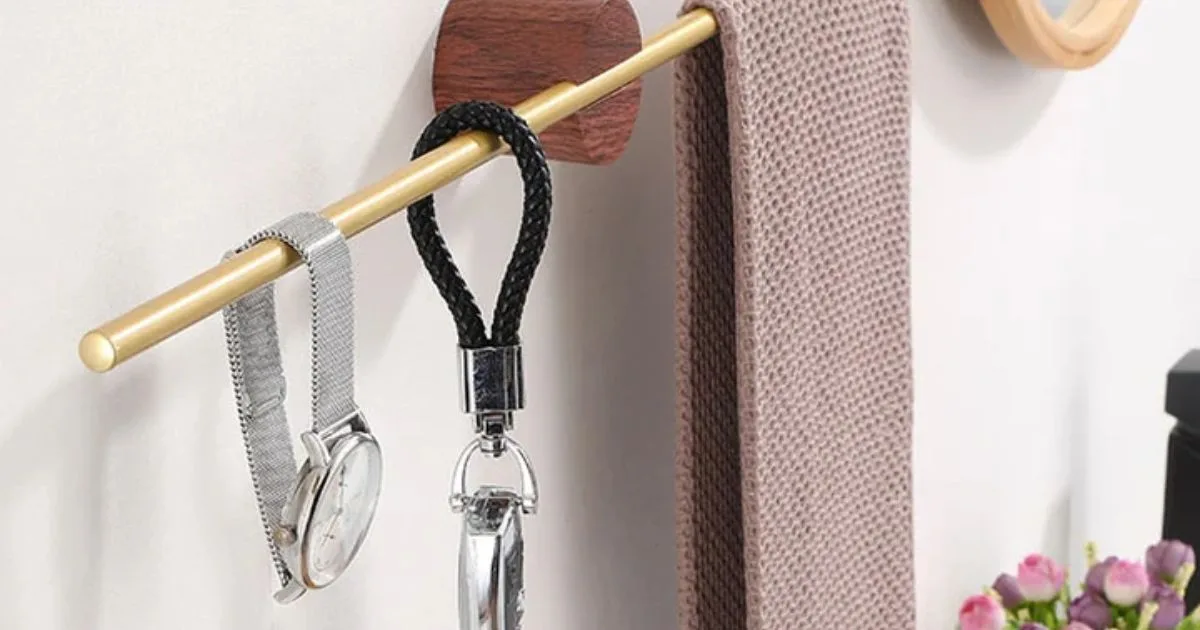
Complete the Look with Towel Hooks
While a towel rack handles larger bath towels, adding towel hooks creates additional storage for hand towels, robes, washcloths, or shower accessories. Hooks are easy to install and help keep everyday essentials within reach.
Installing matching towel hooks alongside your towel rack creates a coordinated, organized bathroom while making better use of available wall space.
Tips for Long-Lasting Installation
To keep your towel rack securely attached:
- Install only on smooth, non-porous surfaces.
- Avoid placing the rack on textured or peeling walls.
- Wait the recommended curing time before use.
- Follow the manufacturer's weight limit.
- Clean the rack regularly to maintain its appearance.
Following these simple tips will help extend the life of your bathroom accessories.
Conclusion
Installing a no drill towel rack bathroom is one of the easiest ways to improve bathroom storage without damaging your walls. With proper preparation and installation, you can enjoy a secure, modern towel rack that requires no drilling or complicated tools.
For even greater functionality, pair your towel rack with a movable towel rack for adjustable storage and stylish towel hooks to keep everyday essentials organized. Together, these accessories create a cleaner, more functional bathroom that looks great and works even better.