
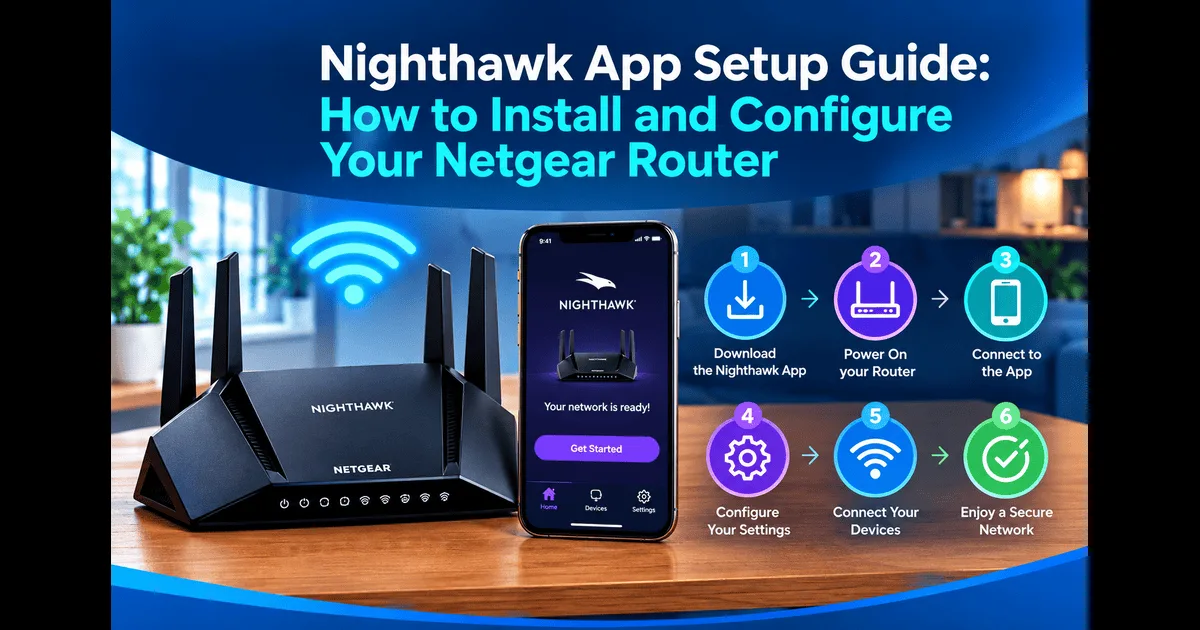
Setting up a Netgear router used to mean digging out a setup CD or typing a long web address into your browser. Today, the Nighthawk app makes the entire process faster and more intuitive, letting you install, configure, and manage your router directly from your smartphone. Whether you're setting up a new router for the first time or reconfiguring an existing one, this guide walks you through the process step by step.
What Is the Nighthawk App?
The Nighthawk app is Netgear's official mobile application for Nighthawk routers and extenders. It replaces the need for a computer-based setup in most cases, allowing you to install your router, create your Wi-Fi network, and manage settings like parental controls and guest access all from your phone.
Step 1: Download the Nighthawk App
Before anything else, download the Nighthawk app from the Google Play Store (Android) or the Apple App Store (iOS). Make sure you're downloading the official Netgear app, as several similarly named apps exist.
Step 2: Connect Your Router to Power and Modem
Plug your Nighthawk router into a power outlet and connect it to your modem using an Ethernet cable. Wait about a minute for the router to fully power on; most Nighthawk routers show a solid light once they're ready.
Step 3: Open the App and Create an Account
Open the Nighthawk app and either sign in with an existing Netgear account or create a new one. Having an account lets you manage your router remotely and receive firmware update notifications.
Step 4: Let the App Detect Your Router
The app will automatically search for nearby Nighthawk devices. Once it detects your router, follow the on-screen prompts to connect your phone to the router's default network temporarily during setup.
If you'd prefer a full walkthrough of the traditional browser-based method as a backup, this guide on netgear nighthawk setup covers that process in detail.
Step 5: Create Your Wi-Fi Name and Password
Once connected, the app will prompt you to create a custom network name (SSID) and password. Choose a strong, unique password to keep your network secure, and avoid using default credentials.
Step 6: Confirm Internet Connectivity
After your network is created, the app will test your internet connection to confirm everything is working. If you run into connectivity issues at this stage, double-check your modem connection and ensure cables are securely plugged in.
Step 7: Explore Additional App Features
Once setup is complete, the Nighthawk app gives you access to several useful tools directly from your phone:
- Guest Wi-Fi network creation
- Parental controls and device blocking
- Speed test and network map
Firmware update alerts
Setting Up an Extender Using the App
If your home has weak Wi-Fi spots, the Nighthawk app also makes it easy to add and configure a Nighthawk extender to your existing network. For a detailed breakdown of that process, including placement tips and syncing instructions, see this guide on nighthawk extender setup.
Common Setup Issues to Watch For
- App not detecting the router : Make sure Bluetooth and Wi-Fi are enabled on your phone.
- Login failures: Double-check your Netgear account credentials or reset your password if needed.
Slow or no internet after setup: Restart both the modem and router, then reopen the app to re-test the connection.
Final Thoughts
The Nighthawk app simplifies what used to be a technical setup process into a few guided steps you can complete from your phone. Whether you're installing a new router or adding an extender for better coverage, the app keeps your entire network manageable in one place.