Selecting and Inspecting a Scaffold Work Platform for High-Rise Projects
Buying suspended access equipment is rarely a like-for-like purchase. Two machines with the same deck length and the same headline rated load can behave very differently on a real building, because the deciding factors live in the roof arrangement, the safety chain, and the service documentation rather than in the brochure. A project manager who has to choose a Scaffold Work Platform for a high-rise maintenance contract should start with a written description of the work, then work backwards to the configuration, and only then compare prices. This article sets out the sequence that tends to produce a safe, durable, and economical installation, together with the inspection regime that keeps it that way.
Begin with the work envelope, not the catalogue
The first document to produce is a facade schedule. List every elevation, its height, the width of a typical bay, the presence of setbacks or projecting fins, the location and load capacity of usable roof areas, and any obstructions such as satellite dishes, lightning protection conductors, or plant rooms. Then describe the tasks: window cleaning with a pure-water system, silicone joint replacement, panel replacement requiring a glass handling rig, or coating repair that needs two technicians plus spray equipment. Each task implies a different maximum payload, a different need for deck stability, and a different acceptable amount of horizontal repositioning.
From that schedule you can derive four hard numbers: the required vertical travel, the longest deck that can be manoeuvred past the facade geometry, the peak concentrated load, and the number of simultaneous operators. Only then does it make sense to look at model tables. Comparing machines on rated load alone is misleading, because a longer deck usually has a lower permitted total, and a roof with a shallow parapet may restrict the available outreach so severely that a nominally larger platform cannot be rigged at all. Where a building has a complex crown or a stepped roofline, it is common to specify two shorter configurations rather than one long one, and to budget for a mid-project re-rig.
Roof structure and suspension geometry
The suspension beams and their counterweights generate the largest forces in the whole system. Ask for the manufacturer's outreach and ballast chart and have a structural engineer check the actual slab, not just the general building drawings. Points to verify include slab thickness and reinforcement, the allowable imposed load on the roof finish, the condition and anchorage of the parapet, and whether the roof waterproofing can tolerate concentrated point loads from the support feet. Where beams cannot be ballast-mounted, cast-in or through-bolted anchors must be detailed with their own pull-out calculation and proof test. Never assume that an anchor installed for a previous contractor's equipment is adequate for a new configuration.
Also check the practicalities that drawings omit. Can the counterweight blocks be moved to the rigging position without exceeding a lift or slab limit? Is there a safe route for the crew to reach the roof anchorage with harnesses attached? Is there a weatherproof power supply at the roof, sized for two hoists plus control circuits, with residual-current protection? Is there enough clear space behind the beams to tension and terminate the ropes? A rigging plan that answers these questions in advance eliminates most of the delays that occur on the first day of a facade contract.
The safety chain deserves item-by-item scrutiny
When reviewing quotations, insist on a component list rather than a single line reading "safety system included". At minimum you want two independent working wire ropes, two independent safety wire ropes, two centrifugal fall-arrest locks with documented arrest testing, upper-limit switches at both hoists, a hard-wired emergency stop, a tilt or synchronous levelling control, a manual lowering device usable during a power failure, and an overload or over-current protection device on each motor. Check that the safety ropes have their own anchor points, entirely separate from the working rope anchors and from the beam that carries the hoists. Shared anchors are a common cost-cutting shortcut and they defeat the entire redundancy principle.
Ask to see the type-test certificates for the locks and hoists, the wire rope certificates with breaking load and construction, and the declaration of conformity against the applicable standard for the market. Request the spare parts list at the same time. A supplier who can quote a delivery time for a replacement lock, brake assembly, contactor, and guide roller is telling you something useful about the total cost of ownership. If those items are only available as a complete assembly or on a long lead time, a minor failure can idle a whole facade crew for days.
Inspection tiers that actually work on site
A useful inspection regime has three levels. The pre-use check happens at the start of every shift and is recorded by the operator on a short laminated card: ropes for visible broken wires, corrosion, or kinks; locks moving freely and correctly oriented; limit switches actuated by hand where the design permits; the emergency stop and both hoist brakes responding; guardrails, toe boards, and deck fasteners secure; electrical plugs, cables, and the control enclosure dry and undamaged; counterweights present, counted, and locked against displacement. It takes ten minutes and it catches the large majority of developing faults.
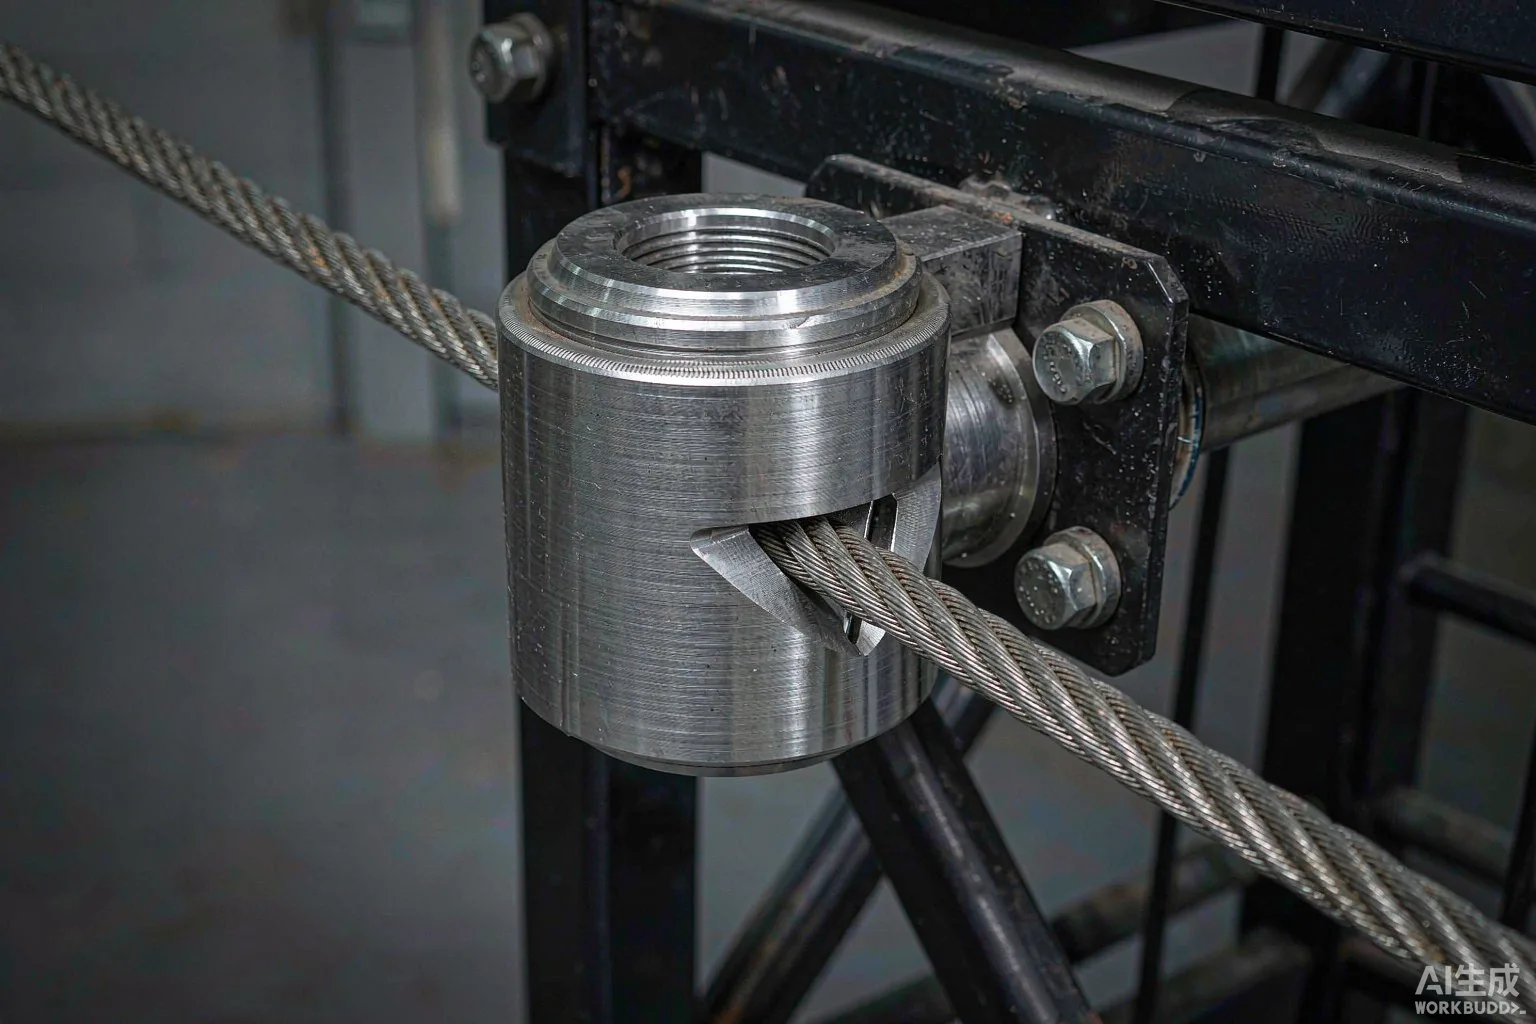
The periodic inspection, commonly weekly or monthly depending on local rules and usage intensity, is performed by a competent person and goes further: rope diameter measurement against the discard criteria, termination and wedge socket examination, brake adjustment and holding test, hoist gearbox oil level, suspension beam and outrigger pin wear, structural welds and bolt torque, and a functional test of the levelling and limit circuits under no load. Findings are logged against the unit serial number, with a responsible person and a closure date for each defect. The annual or major inspection includes a thorough strip-down assessment, proof load testing where required, replacement of wear items on a schedule, and renewal of the unit's certification.
Any arrest event, overload trip, lightning strike, or collision changes the rules: the Scaffold Work Platform is taken out of service and not returned until a competent person has inspected the affected assemblies and signed the release. Equally, any rope that has been subjected to a shock load is discarded rather than inspected back into use. These policies feel expensive in the moment, but they are far cheaper than the alternative, and they are the clearest marker of a well-run access operation.
Common defects worth training people to spot
Corrosion at rope terminations and inside the lower deck frame is the most frequent finding on coastal or de-iced sites, because water and salt collect where drainage is poor. Flattened or birdcaged rope sections near the hoist indicate a damaged sheave or a rope that has been dragged across an edge. Intermittent hoist operation usually traces to a wet control connector or a failing contactor rather than the motor. A deck that drifts out of level repeatedly points to unequal rope stretch, a slipping brake, or a miscalibrated tilt sensor. Guardrails that have been loosened to pass a bulky panel and never retorqued are a persistent behavioural problem, so the pre-use card should call them out explicitly.
Documentation is part of the safety system too. Keep the logbook, the conformity documents, the rigging calculation for each elevation, the operator training records, and the inspection history together, ideally as a digital folder keyed to the unit serial number. When a client, an insurer, or a regulator asks for evidence, a complete file produced in minutes is a strong signal that the equipment has been managed rather than merely operated. It also makes handover between contracting teams far less risky, because the incoming supervisor can see exactly which components were replaced and which defects remain open.
Lifecycle cost and the procurement decision
A credible comparison adds up purchase price, rigging labour for each elevation, scheduled rope replacement, annual certification, expected consumables, and the cost of downtime. Cheaper units often use lighter-gauge frames that need earlier refurbishment, proprietary electrical parts that are hard to source, or rope sizes that must be replaced as a special order. Hot-dip galvanising after fabrication, sealed enclosures, standard industrial contactors and motors, and a modular deck built from replaceable sections all reduce lifetime cost even when the initial quote is higher. Warranty terms should be read alongside the spare parts price list, since a long warranty on an unrepairable assembly has little practical value.
Finally, treat the commissioning phase as part of the purchase. A supplier who provides on-site rigging supervision, a documented load test, and a training session for the actual operators delivers a system that works from day one. A supplier who ships a crate and a manual leaves the most safety-critical steps to whoever happens to be on the roof that morning. For recurring high-rise maintenance, choosing a well-supported Scaffold Work Platform and enforcing a disciplined inspection routine is what turns an inherently hazardous activity into a controlled, repeatable, and auditable process.