Almost every visual project starts the same way: someone draws something badly on a napkin, a whiteboard, or the back of an envelope. The sketch is not the product. It is a way of getting an idea out of your head fast enough to look at it.
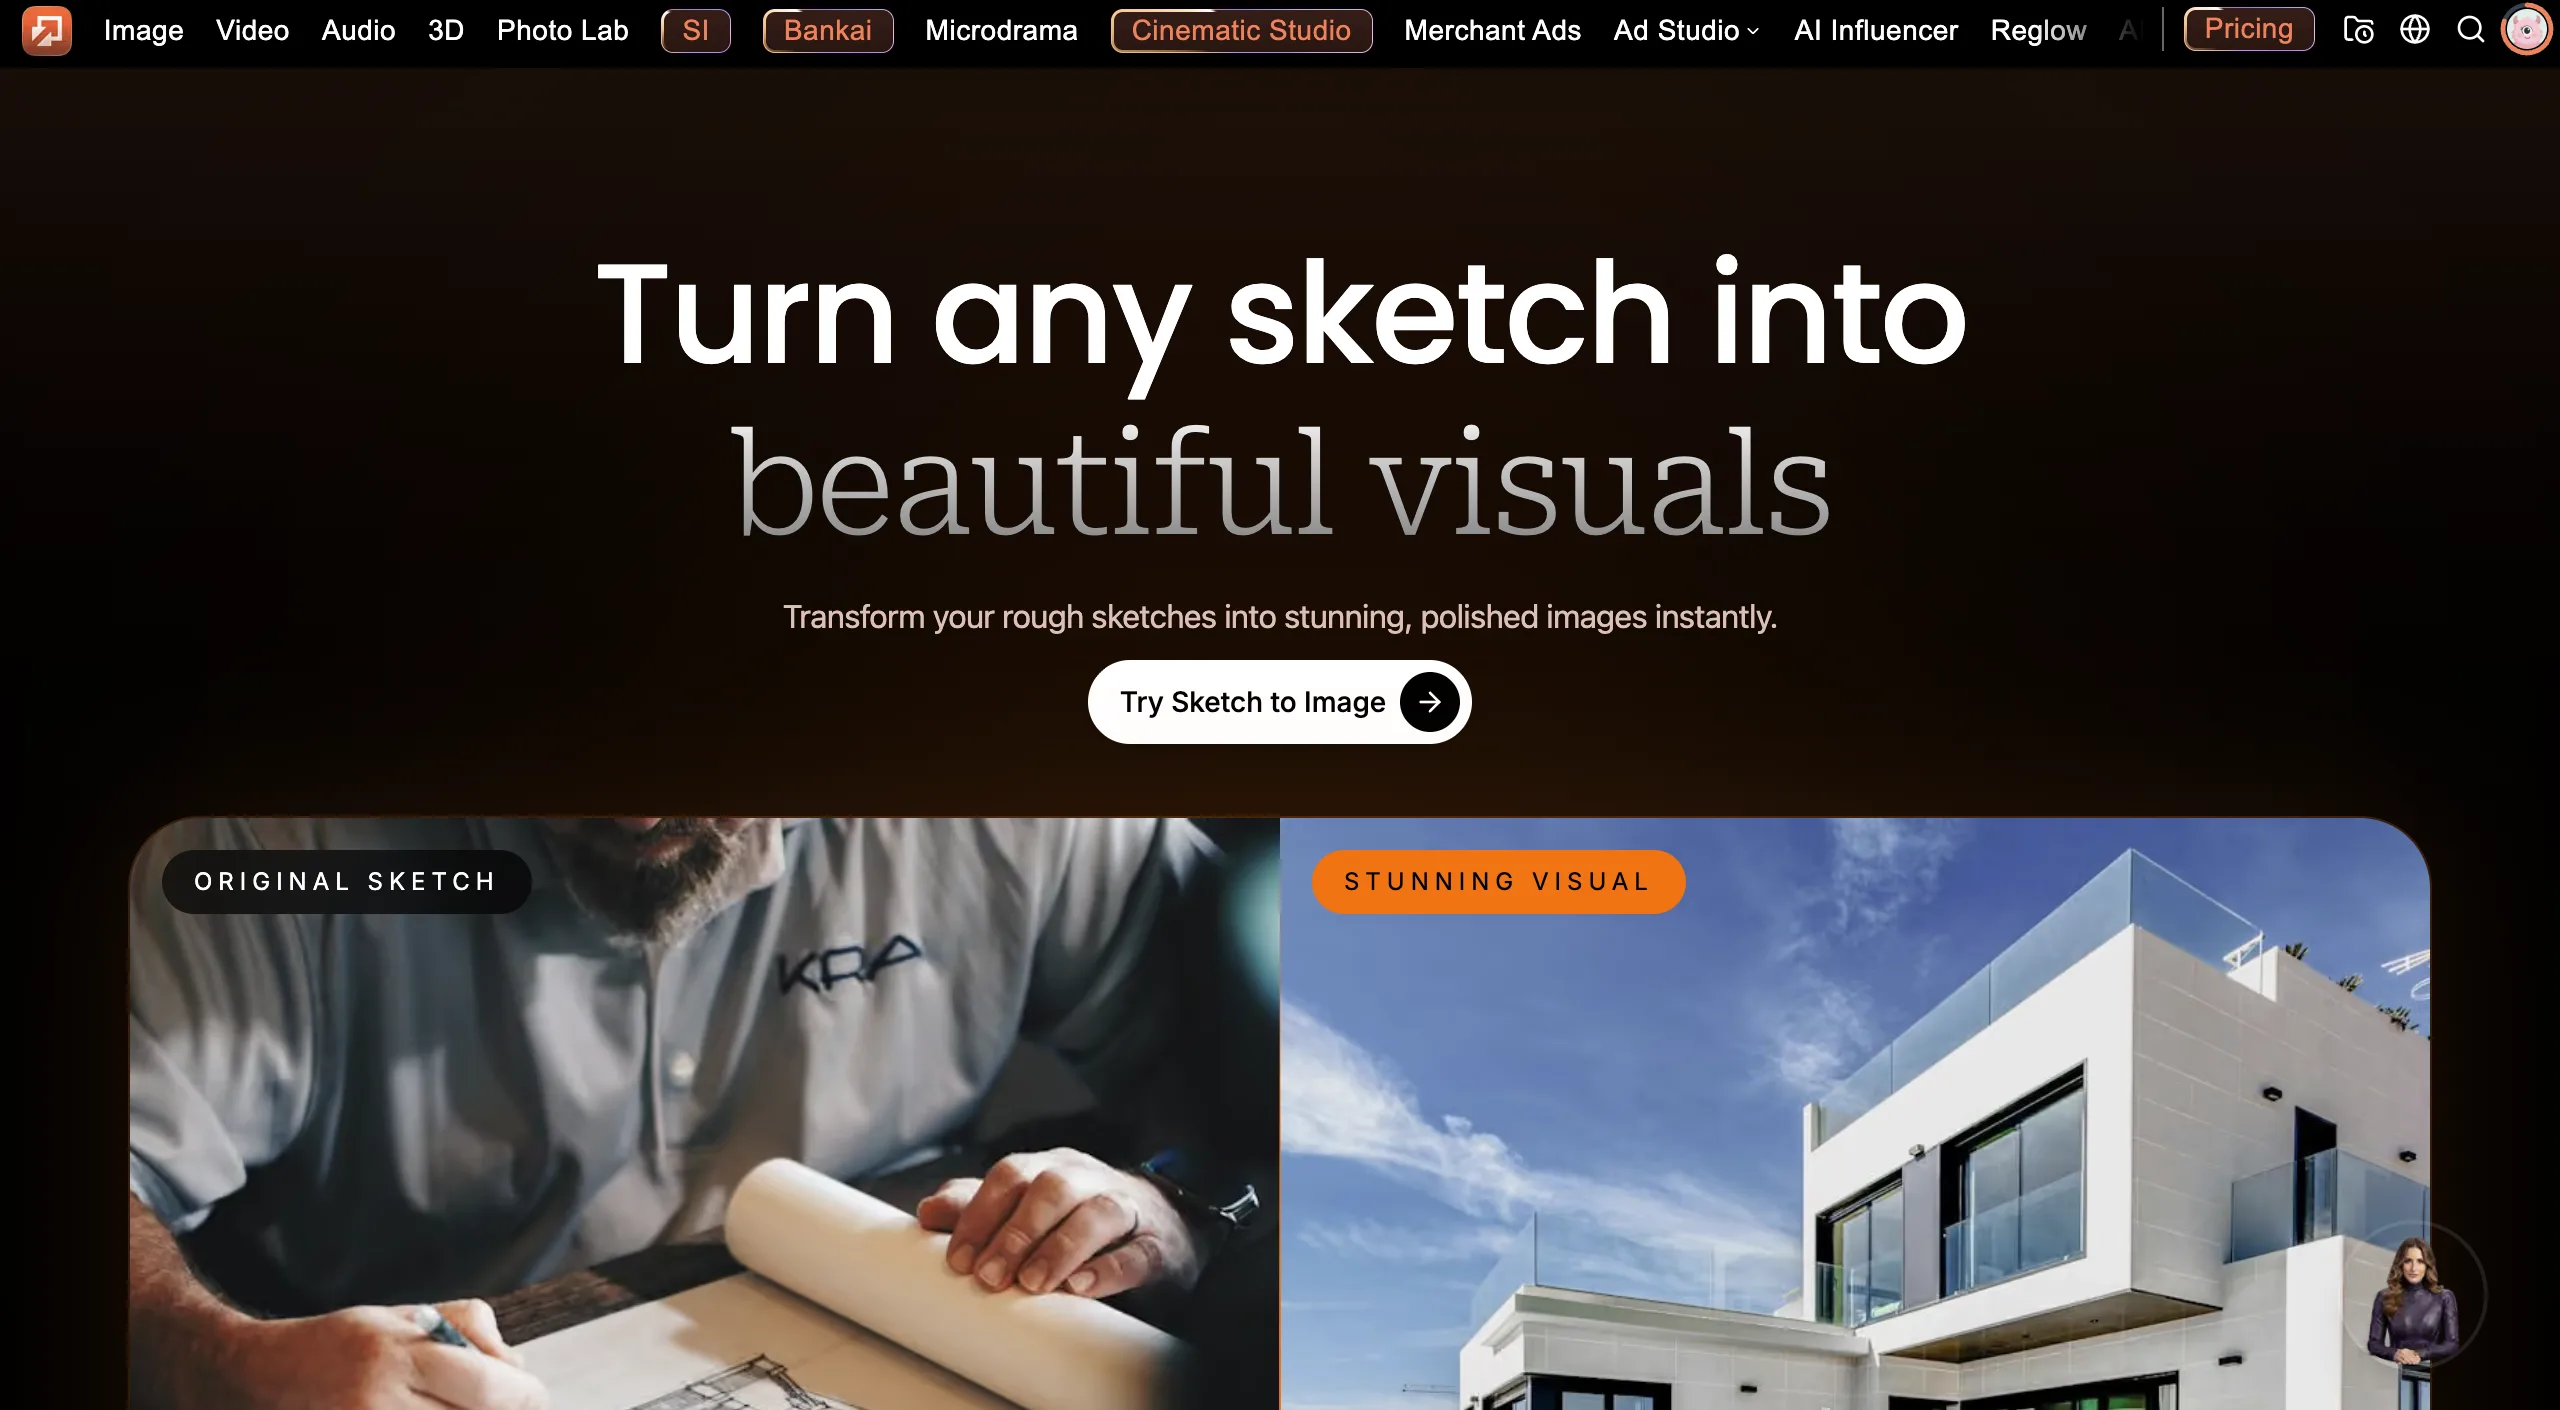
For most of design history, the gap between that rough sketch and a presentable visual has been expensive to cross. You needed an illustrator, a designer, or years of your own practice. Sketch-to-image AI changes that gap. You provide the drawing, and the model renders it as a finished image while trying to respect what you drew.
This guide covers how the technique works, where it’s useful, how to get better results, and where it still disappoints.
What sketch-to-image actually is
Most people meet generative AI through text prompts. You type “a cozy cabin in a snowy forest” and the model invents the composition, the angle, and the details. That is impressive, but you gave up control of everything except the description.
Sketch-to-image works differently. The drawing acts as a structural constraint. The model takes the shapes, proportions, and layout you provided and fills in the rendering: texture, lighting, color, material, and detail. In practice, the sketch decides where things go, and the AI helps decide what they look like.
This is often called conditioned generation. The model is not generating freely. It is generating under a limit, which is harder than open-ended generation and usually more useful, because real projects rarely want a random image. They want a specific thing, realized well.
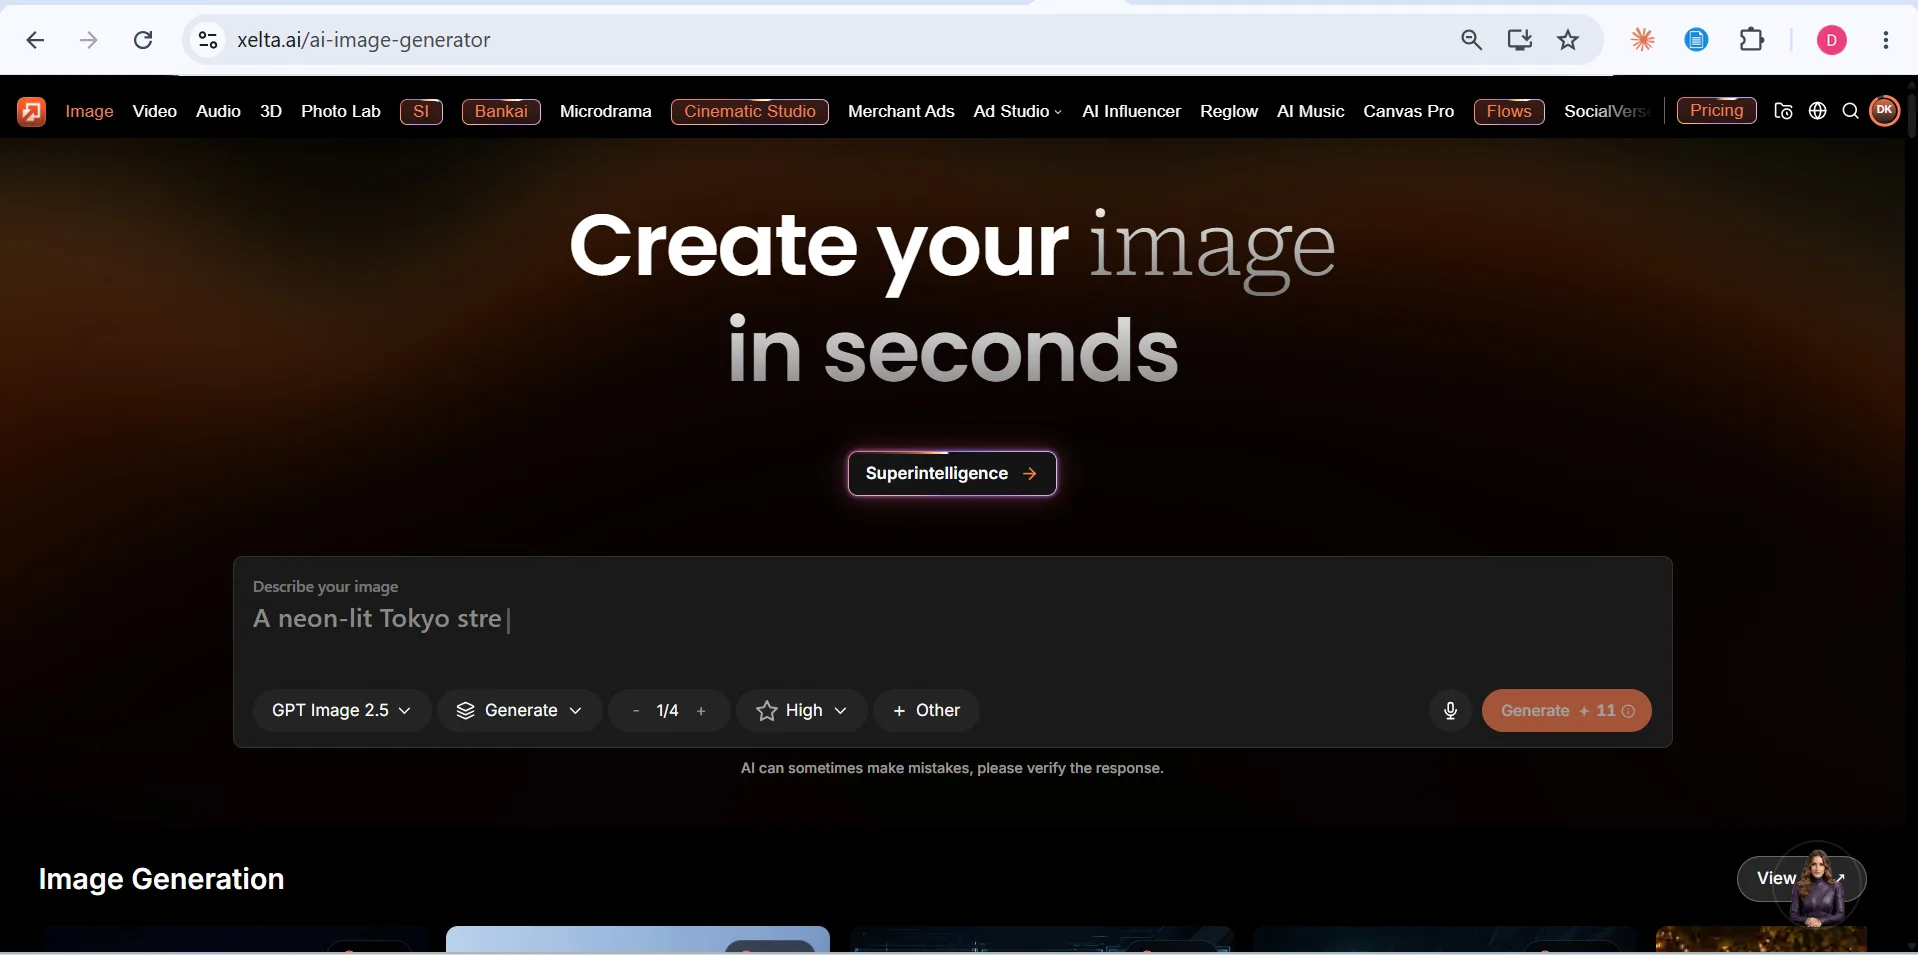
Tools in this category, including Xelta’s sketch-to-image tool, are built around that idea. You can check the tool’s page for its exact inputs and options, since details like supported file types and style controls vary between products and change over time.
Why this matters: the cost of the first draft
The hardest part of creative work is usually not the final polish. It’s the early stage, when you don’t yet know whether an idea is any good.
Consider how that stage normally goes. A founder describes an app screen to a designer. The designer interprets it and returns a mockup two days later. It misses the point. Another round follows. By the time the idea is visible, a week has passed.
When a rough sketch can become a presentable image in minutes, three things change:
- Ideas get tested earlier. You can look at a concept before committing time or money to it.
- Communication improves. A sketch plus a rendered version is a much clearer brief than a paragraph of text.
- More options get explored. If a variation costs minutes, you try five directions instead of settling on the first.
None of this removes the need for skilled designers. It moves their time toward judgment and refinement and away from producing throwaway first drafts.
Where sketch-to-image is useful
Concept art and illustrationIllustrators and concept artists have long worked in stages: thumbnail sketches, rough compositions, then rendering. Sketch-to-image can speed up the middle of that process. An artist can block out a composition in a few strokes, generate several rendered interpretations, and choose which direction deserves real time.
Product and industrial designDesigners working on physical products often sketch forms by hand. Turning a line drawing into a rendered image helps stakeholders who can’t read a technical sketch picture the result, whether that’s a chair, a bottle, or a gadget.
Interior and architectural ideasA floor plan or a rough perspective drawing can become a visualization of the mood and materials of a space. This is useful for early client conversations, though it should never be mistaken for a construction document. A generated image does not know about load-bearing walls or building codes.
Marketing and social contentMarketers often have a clear layout in mind, such as a hero image with a product on the left and space for text on the right. Sketching that layout and generating from it gives more predictable results than hoping a text prompt lands on the right composition.
StoryboardingFilmmakers and video creators sketch storyboards to plan shots. Rendering those frames makes it easier to evaluate framing, mood, and continuity before any footage exists. If you later move into video, those images can serve as reference points for scenes.
Education and prototypingTeachers, students, and early-stage founders who can’t draw well can still communicate a visual idea. A stick-figure level sketch can be enough for the model to work with.
How to get better results
The quality of the output depends heavily on how you approach the input. These habits help across most tools.
Make the sketch clear, not prettyThe model reads shapes. Clean, confident lines with distinct forms work better than faint or tangled ones. You don’t need artistic skill, but you do need clarity. If two objects overlap in a confusing way in your drawing, the model will guess.
Keep the composition simple at firstA sketch with five clear elements usually behaves better than one with thirty. Start with the main subject and its placement, then add complexity once you understand how the tool interprets your drawings.
Add a short, specific text descriptionMost sketch-based tools accept a prompt alongside the drawing. The sketch handles structure, so use the text for what a drawing can’t express: material, time of day, mood, style, color palette. “Brushed aluminum, soft studio lighting, white background” says more than another layer of line work.
Be consistent between sketch and descriptionIf your sketch shows a round object and your prompt says “rectangular box,” the tool has to choose, and you may not like the result. Make the two agree.
Iterate in small stepsIf a result is close, change one thing at a time: the prompt wording, a line in the sketch, or the style. Changing everything at once makes it hard to learn what caused what.
Generate several versionsGenerative models vary from run to run. Producing a handful of versions and choosing the best is normal practice, not a sign that something went wrong.
Treat the output as a draftEven good results can contain odd details: hands, small text, reflections, or fine mechanical parts. Review the image closely before using it anywhere important.
A simple workflow you can try
Here is a practical sequence for a first project, such as a poster concept.
- Sketch the layout. Draw the main subject, a horizon line if relevant, and a box where the headline will go. Five minutes is enough.
- Write a one-sentence description. Include subject, style, lighting, and mood.
- Generate a first pass. Check whether the composition matches your sketch.
- Adjust. If the subject is the wrong size, fix the sketch. If the mood is wrong, fix the text.
- Pick a favorite and refine. Run a few more variations around the best one.
- Finish properly. Move the image into your usual editing or layout software for typography, color correction, and final checks.
The last step matters. Sketch-to-image is best understood as a fast route to a strong draft, not a replacement for the finishing stage.
Where it connects to the rest of a creative workflow
An image is rarely the end product. It tends to be a starting point for something else: a social post, an ad, a presentation slide, a short video.
This is where working inside a broader platform can save effort. Xelta is one example of an AI creative platform where image tools sit next to video, voice, and marketing tools, so a generated image can become the first frame of a video or the base for an ad without being exported and re-imported across separate apps. Whether that matters depends on your work. If you only need a single image, a standalone tool is enough. If your images routinely feed into video or campaigns, keeping everything in one place removes a lot of friction.
The limits worth knowing
Honest expectations make for better use of any tool, so here are the common weak points.
Fidelity is not perfect. The model may reinterpret parts of your sketch, especially ambiguous lines. Expect to fix some details by hand or regenerate.
Fine detail is still a weakness. Small text, hands, intricate mechanisms, and repeated patterns are areas where generated images often fail.
Style is influenced by training data. The model’s idea of “realistic” or “illustrated” comes from what it learned. If you need a very specific brand style, you may need several attempts or additional reference material.
It does not understand function. A rendered chair looks like a chair, but the model has not checked whether it would hold weight. A generated building has not been checked against anything structural. Visuals are for communication, not engineering.
Rights and originality need care. If you plan to use outputs commercially, read the tool’s terms regarding ownership and permitted use, and be thoughtful about whether your sketch or reference images include other people’s work.
Human judgment stays essential. The tool can render. It can’t tell you whether the idea is worth pursuing. That decision stays with you.
Sketch-to-image versus text-to-image: when to use which
It helps to think of them as tools for different situations.
SituationBetter fitYou know the layout you wantSketch-to-imageYou want a surprise or inspirationText-to-imageYou need consistent composition across versionsSketch-to-imageYou can’t draw and have no referenceText-to-imageYou’re matching a specific structure, such as a floor plan or a mockupSketch-to-imageYou’re exploring wildly different directions fastText-to-imageMany people use both. They explore with text prompts, pick a direction, then sketch the exact composition they want and generate again with more control.
Where the technique is heading
The broader trend in AI image tools is a shift from “how good does the output look” to “how much control do I have.” Output quality across leading models has largely converged. What differs is how precisely a user can say what should change and what should stay fixed. Sketches are one way to express that, and others include reference photos, masks, and pose guides.
Expect these control methods to get more precise and to combine, so that a single project might use a sketch for layout, a reference photo for style, and a text prompt for mood. The practical result is that more of the creative decision-making stays with the person, and less is left to chance.
Final thoughts
The biggest benefit of sketch-to-image AI is not that it replaces drawing or design. It shortens the distance between an idea and something you can look at, react to, and share. That makes early decisions faster and better informed.
If you’ve never tried it, a low-pressure first experiment is to sketch something you’re already planning, such as a poster, a room layout, or a product idea, and see how the tool interprets it. You’ll learn quickly where it helps and where it doesn’t, which is more useful than any general advice, including this guide.